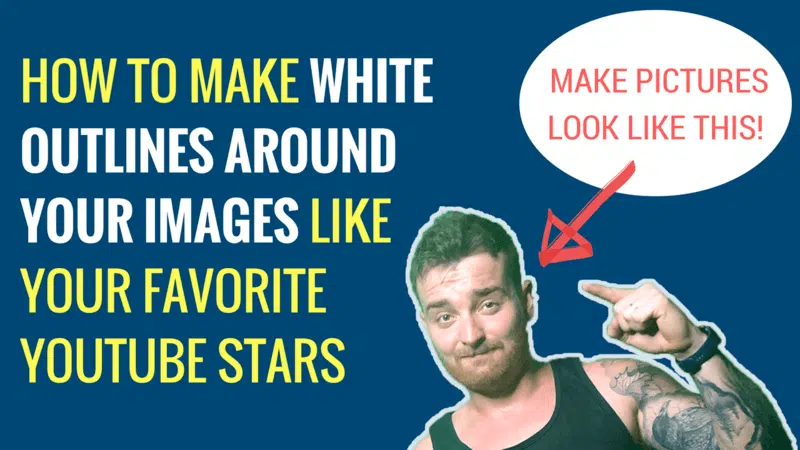
You see them all the time. Those awesome looking YouTube thumbnails with the white outlines around the images without backgrounds. I love the way these look. If you’re reading this, you probably do too.

This seemed like it would be an easy thing to do. It wasn't as easy as I expected. After a quick Google search, I realized that it was actually a bit more involved than it seemed on the surface.
tl-preload-form">
I wrote this blog post because I wanted to simplify it as much as possible for you.
This is a good time for me to tell you that for this tutorial, you will need to buy photoshop...I haven’t found a free alternative that can do the white outlines around images like I’m going to show you.
Here is how to add outlines around images in photoshop.
Removing backgrounds is much easier if you have a strong contrast between the background (what you want to remove) and the foreground (the part you want to keep). I use a green screen now for most of my images. If you don't have a green screen, try to create a strong contrasting background that doesn't have similar colors to the foreground.
Step #1 Open the Image You Want to Use in Photoshop

Open Photoshop, select "open" and then choose the picture that you want to work with.
You can also create a new file and drag the image onto the background, but I prefer opening the image since it doesn't require removing multiple background layers (you will remove just one).

Step #2 Select the Foreground from the Background
Once you've started your project, you will use the quick selection tool to select the area that you want to isolate.

If you have a well defined background, this is pretty easy. If not, you’ll need to work a little harder to get the foreground cropped from the background.
If parts of your image aren't identified properly by the quick selector tool, you’ll have to use the + and - feature to select the parts that should and shouldn’t be included in the foreground.
The zoom feature is your best friend when fine tuning your images. If you leave too many rough edges, it will end up looking really weird. Zoom in as close as possible and be sure to remove the background and keep the foreground as closely as possible.
I don't stress over small things and often will crop the image further to avoid doing too much editing 🙂

This part may take a little practice. If your image is free of strong shadows and other contrasts, you shouldn't have too much trouble using just the quick selector.

Step #3 Copy and Paste the Foreground
Once you've selected your foreground, you'll need to "bring it forward, by copying it and pasting it again as it's own layer.
On a Mac, use CMD+ C and then CMD + V.
On PC, use CTRL +C and then CTRL +V
This will “separate” the part you’ve selected from the background and will now show as it's own

Step #4 Delete the Original Layer
You should now have 2 layers if you opened the image directly and 3 if you pasted the image into a new project.
- The original image
- The foreground image you've selected (the part you want to keep)
- The original background (only if you dragged file).
Delete the original image and the original blank background (if applicable).
You'll be left with only the selected foreground with a transparent background.

Step #5 Select “Blending Options” on the Foreground Layer
Now that you have just the one layer, right click on it and choose "blending options,"

Step #6 Select “Stroke”
From the blending options, select "stroke." Once you do, you should see an outline appear around your image.

You can edit the way this looks (width, color etc) from the blending options.

Once you've done this once, you can use the same default stroke on future work.
Step #7 Download Your Completed Image
Once you've added your stroke and removed your background, you can export the file as a .png file and use it in other tools like Canva or RelayThat to finish your thumbnail.
If you want to use photoshop for the entire thing, go for it! I prefer Canva. Another image generator that you might want to take a look at is Depositphotos AI image generator.
Here is the end product I just made (in Canva, following the steps I just showed).

Ok, your turn! Go make some thumbnails!
RESOURCES
- Adobe Photoshop ($20 per month/free trial available)- This is the paid software that I used in this tutorial. I don't know of any free alternatives that will let you add the white outlines but I encourage you to search if you'd like and please leave a comment if you find something!
- Elgato green screen ($149) - One of the green screens I use to make sure my backgrounds are easy to remove. This one is collapsible but still pretty big.
- Canva (Free) - The web tool I use to create my thumbnails (after I've added the white outlines and removed backgrounds in photoshop).

