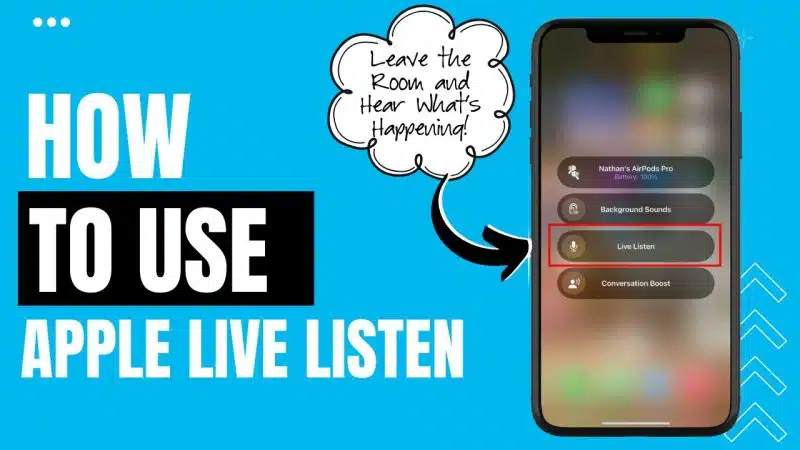
Live Listen is a useful feature on your iPhone that turns it into a powerful microphone. This feature helps you capture and amplify sounds around you, making it great for lectures, meetings, or even casual conversations in noisy places.
The key here is that you don't need AirPods to use Live Listen. Instead, you can use Made for iPhone (MFi) hearing devices, which are specially designed to work with your iPhone.
These devices ensure you get the most out of Live Listen, providing clear and amplified audio in various situations.
Key Takeaways
- Live Listen turns your iPhone into a microphone, amplifying surrounding sounds for better clarity.
- AirPods are not required; you can use MFi (Made for iPhone) hearing devices.
- MFi hearing devices are certified by Apple to work seamlessly with your iPhone, enhancing your listening experience.
Does iPhone Live Listen Only Work with AirPods?
Live Listen on your iPhone isn't limited to just AirPods. While AirPods are commonly associated with this feature, several other devices are also compatible.
These include:
- AirPods Pro
- AirPods Max
- Beats Fit Pro
- Powerbeats Pro
- Beats Solo
Using any of these devices, you can enjoy the benefits of Live Listen, which turns your iPhone into a remote microphone, amplifying nearby sounds for better hearing clarity.
It’s crucial to ensure your iPhone or iPad is updated to iOS 14.3 or iPadOS 14.3 or above. This ensures compatibility and allows you to make the most of the Live Listen feature without any technical issues.
How to Use Live Listen on iPhone Without AirPods?
Live Listen amplifies nearby sounds, making it easier to hear in various settings. Whether you're using Beats or other compatible devices, the setup process is straightforward and user-friendly.
Steps to Set Up Live Listen
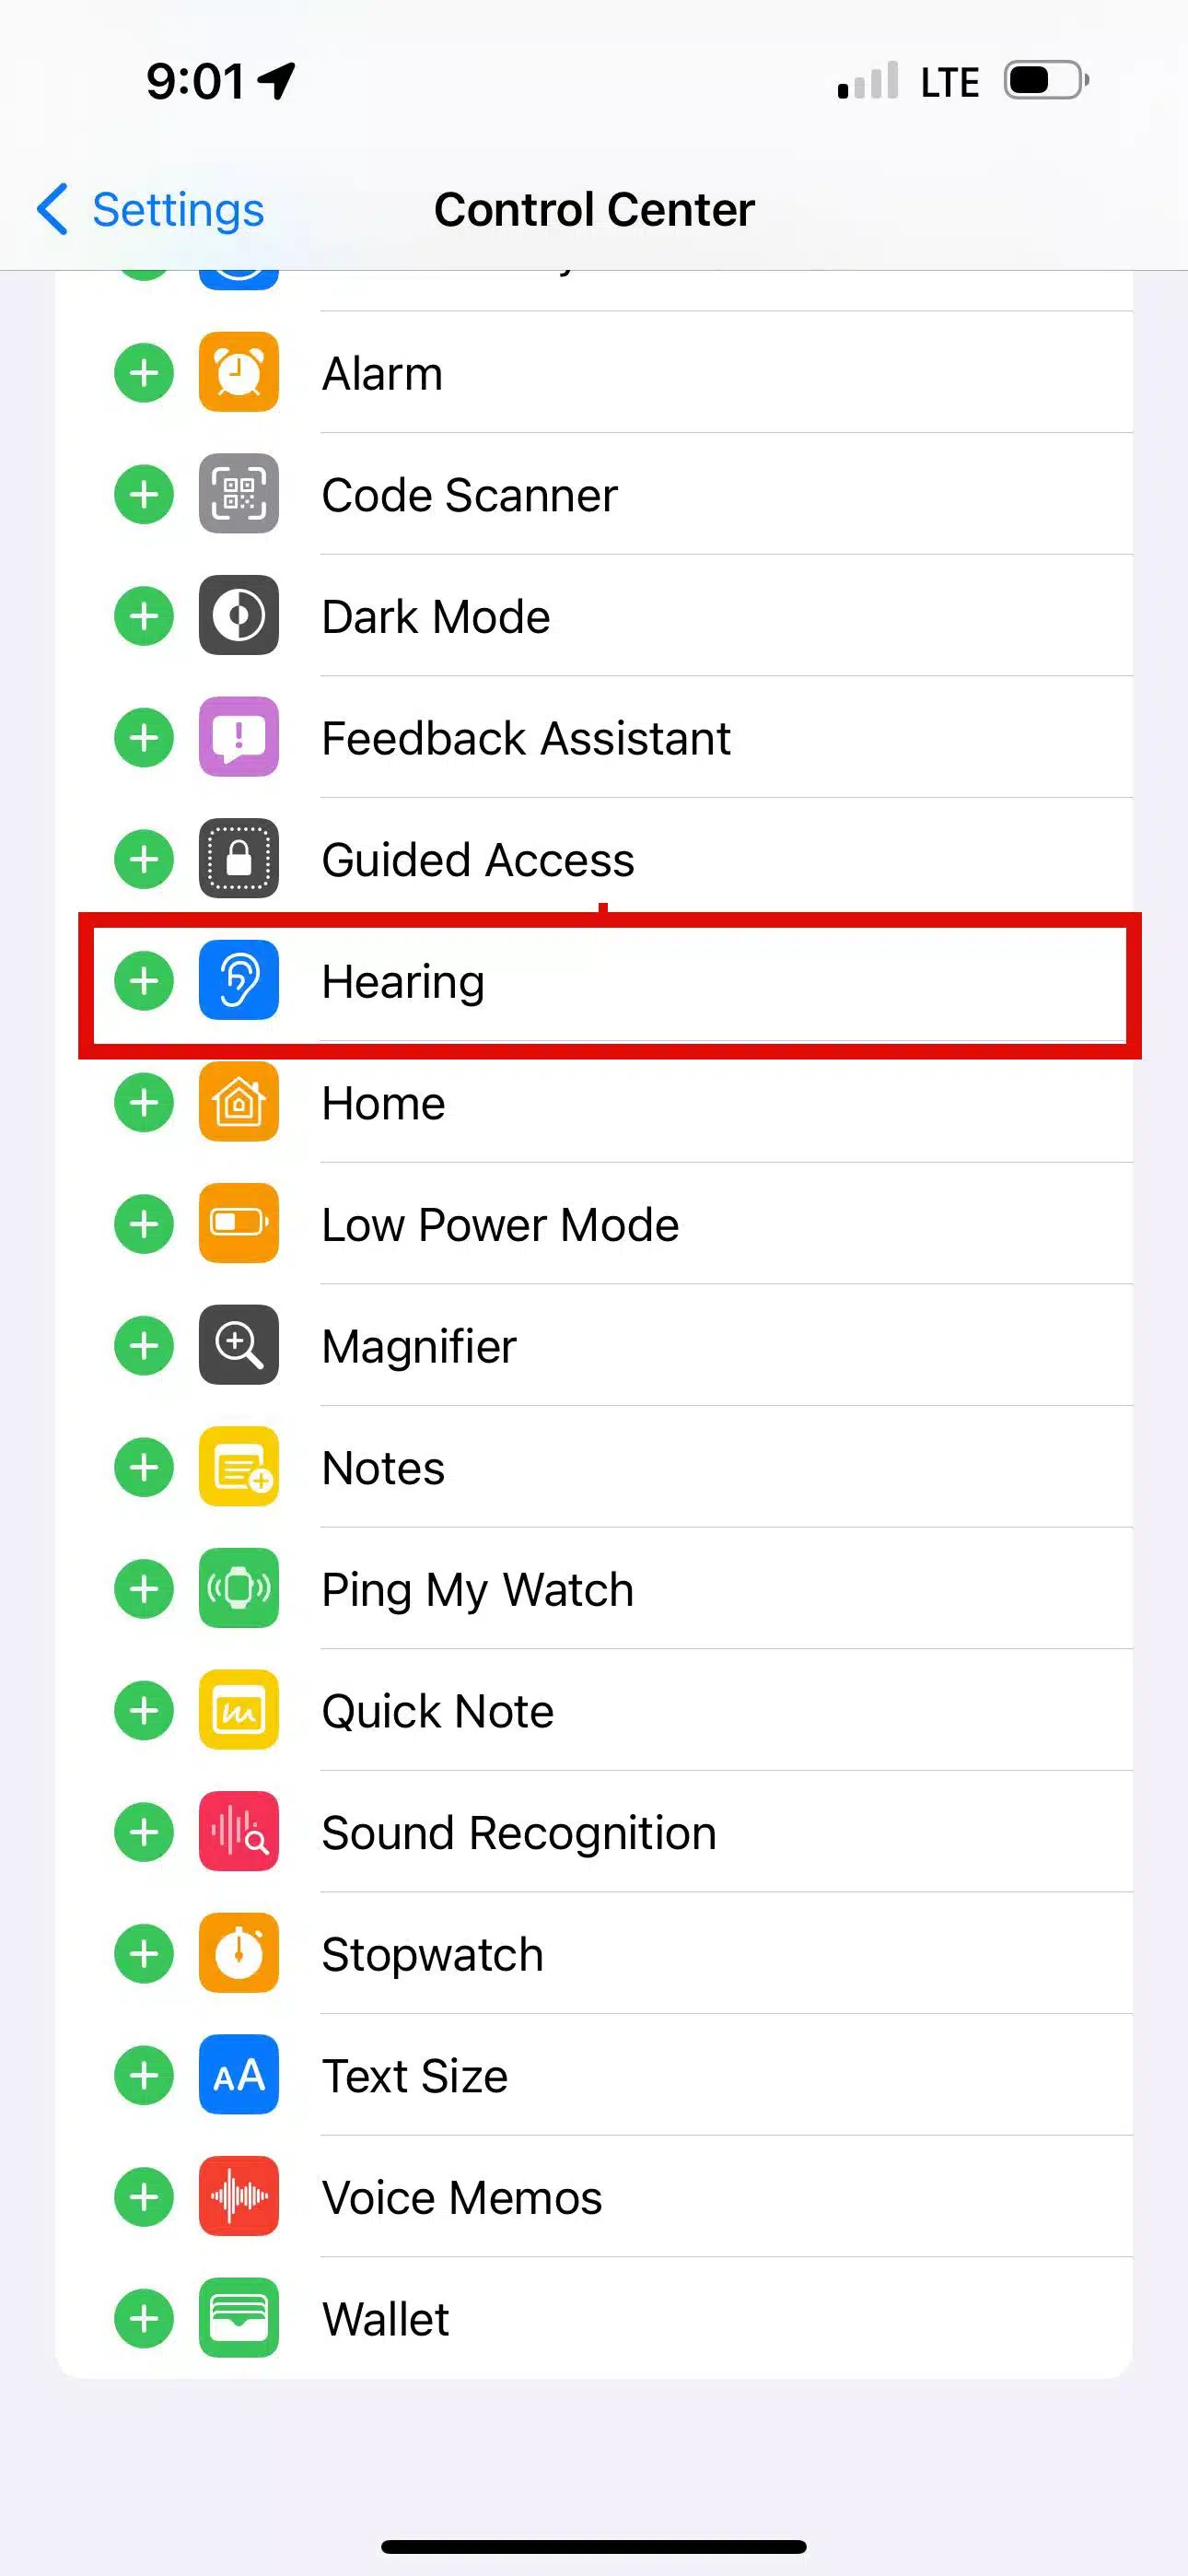
- Open the Settings app on your iPhone.
- Scroll down and tap on "Control Center."

3. Find "Hearing" and tap the "+" icon next to it to add Live Listen to your Control Center.
Steps to Use Live Listen with Compatible Devices like Beats
- Ensure your Beats headphones are connected to your iPhone and are in your ears.
- Open the Control Center by swiping down from the top-right corner of the screen (iPhone X and later) or swiping up from the bottom of the screen (iPhone 8 and earlier).
- Tap the "Hearing" icon, which looks like an ear.
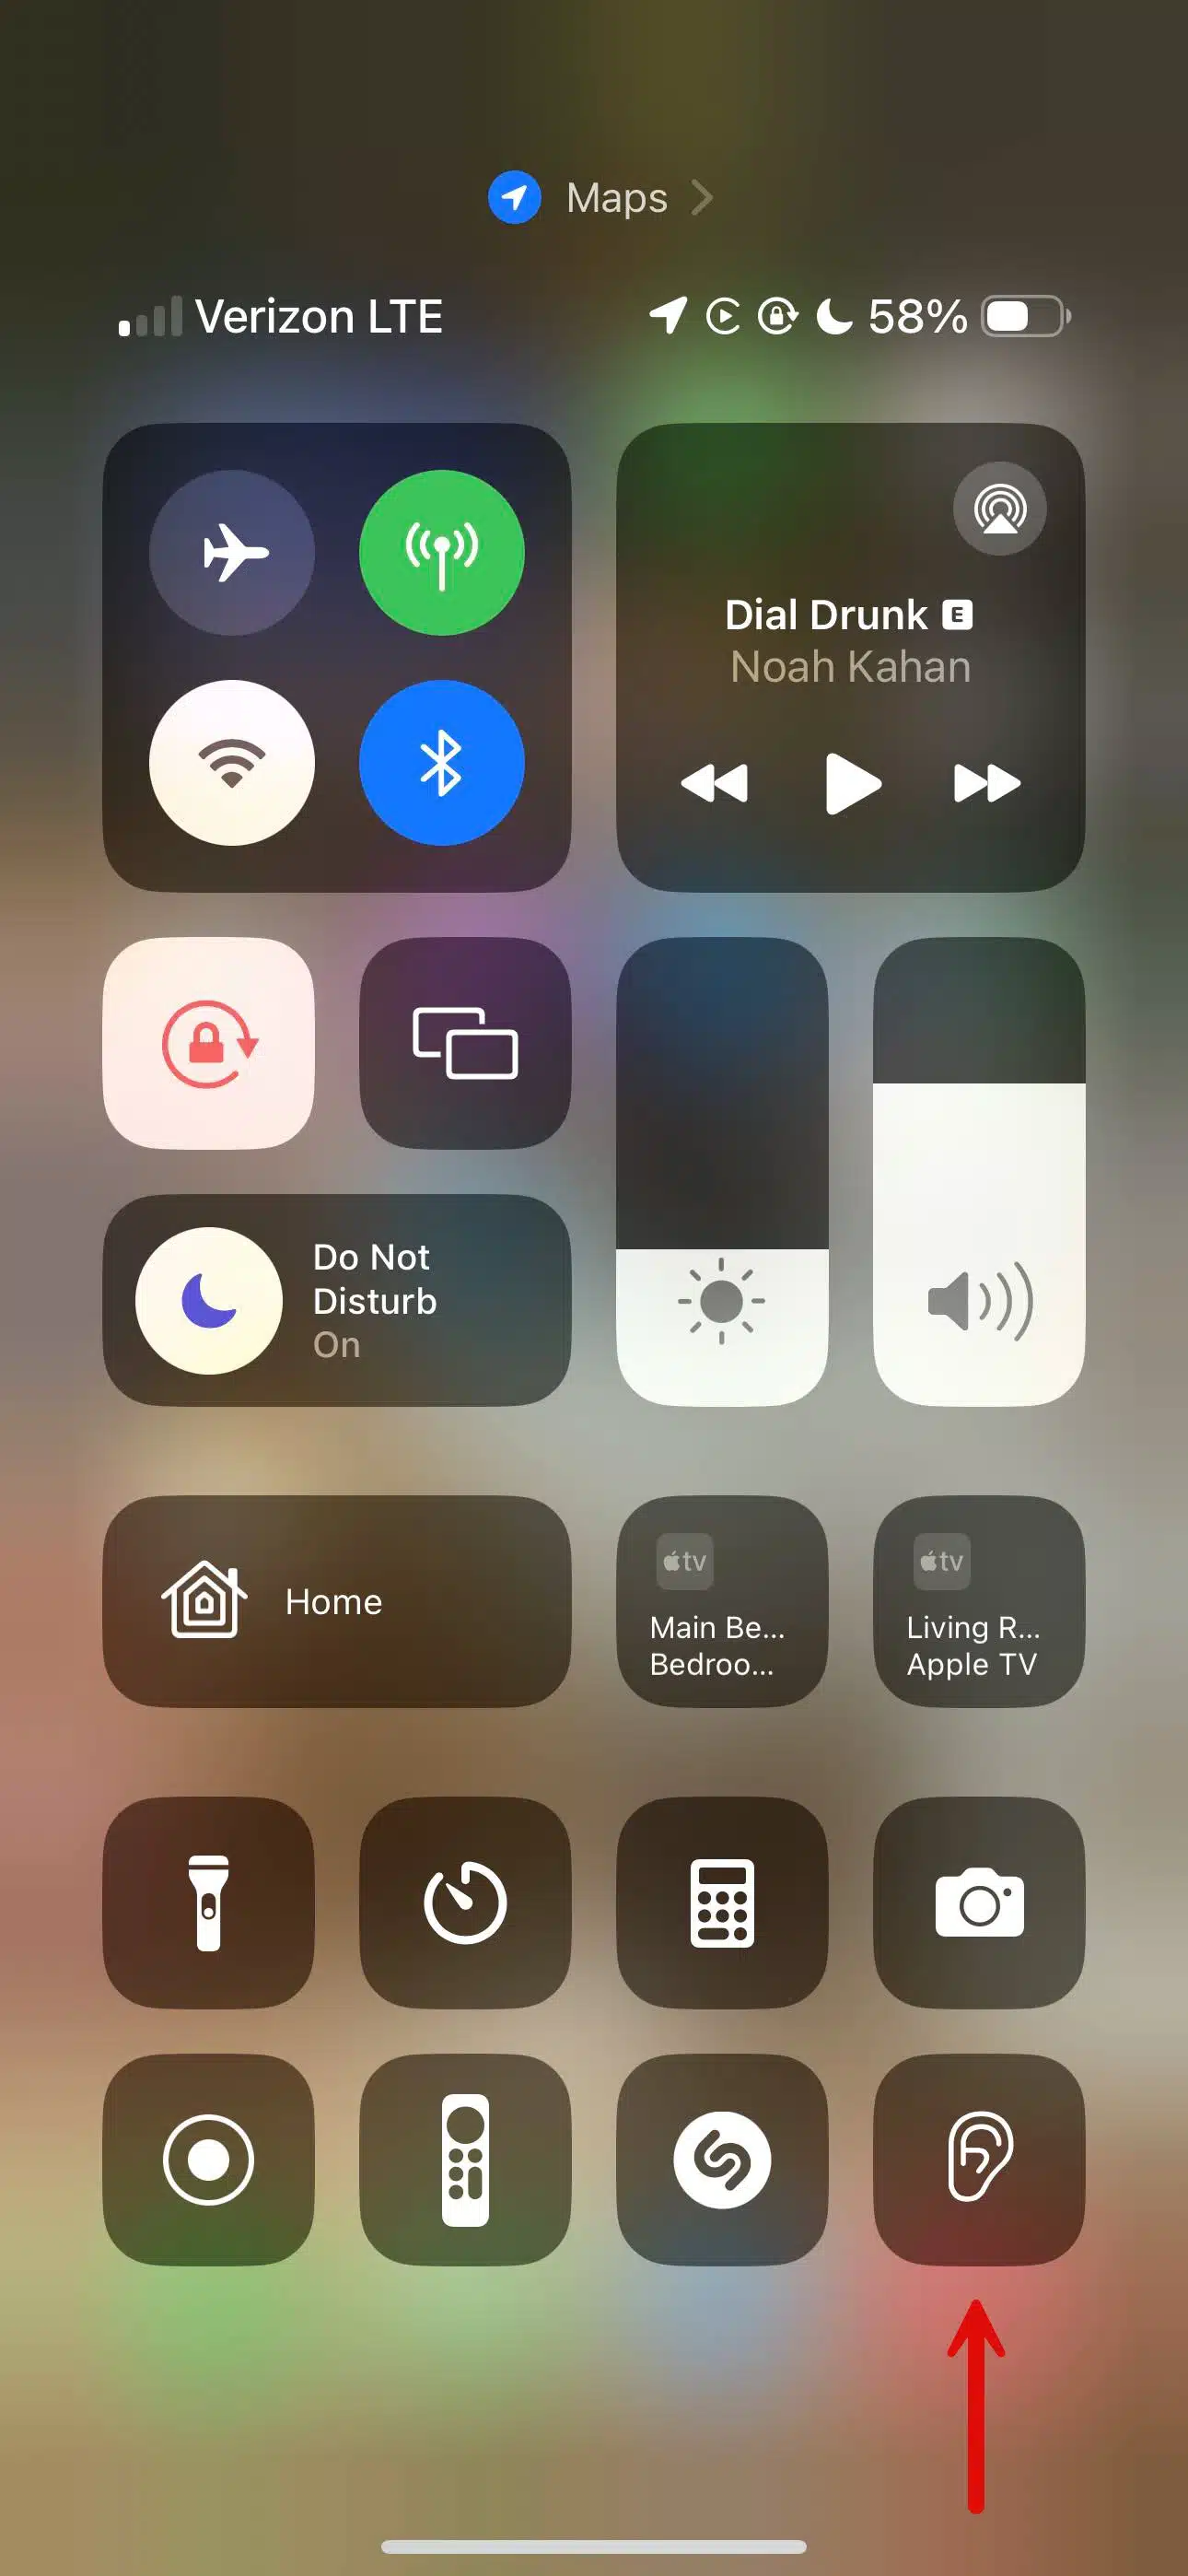
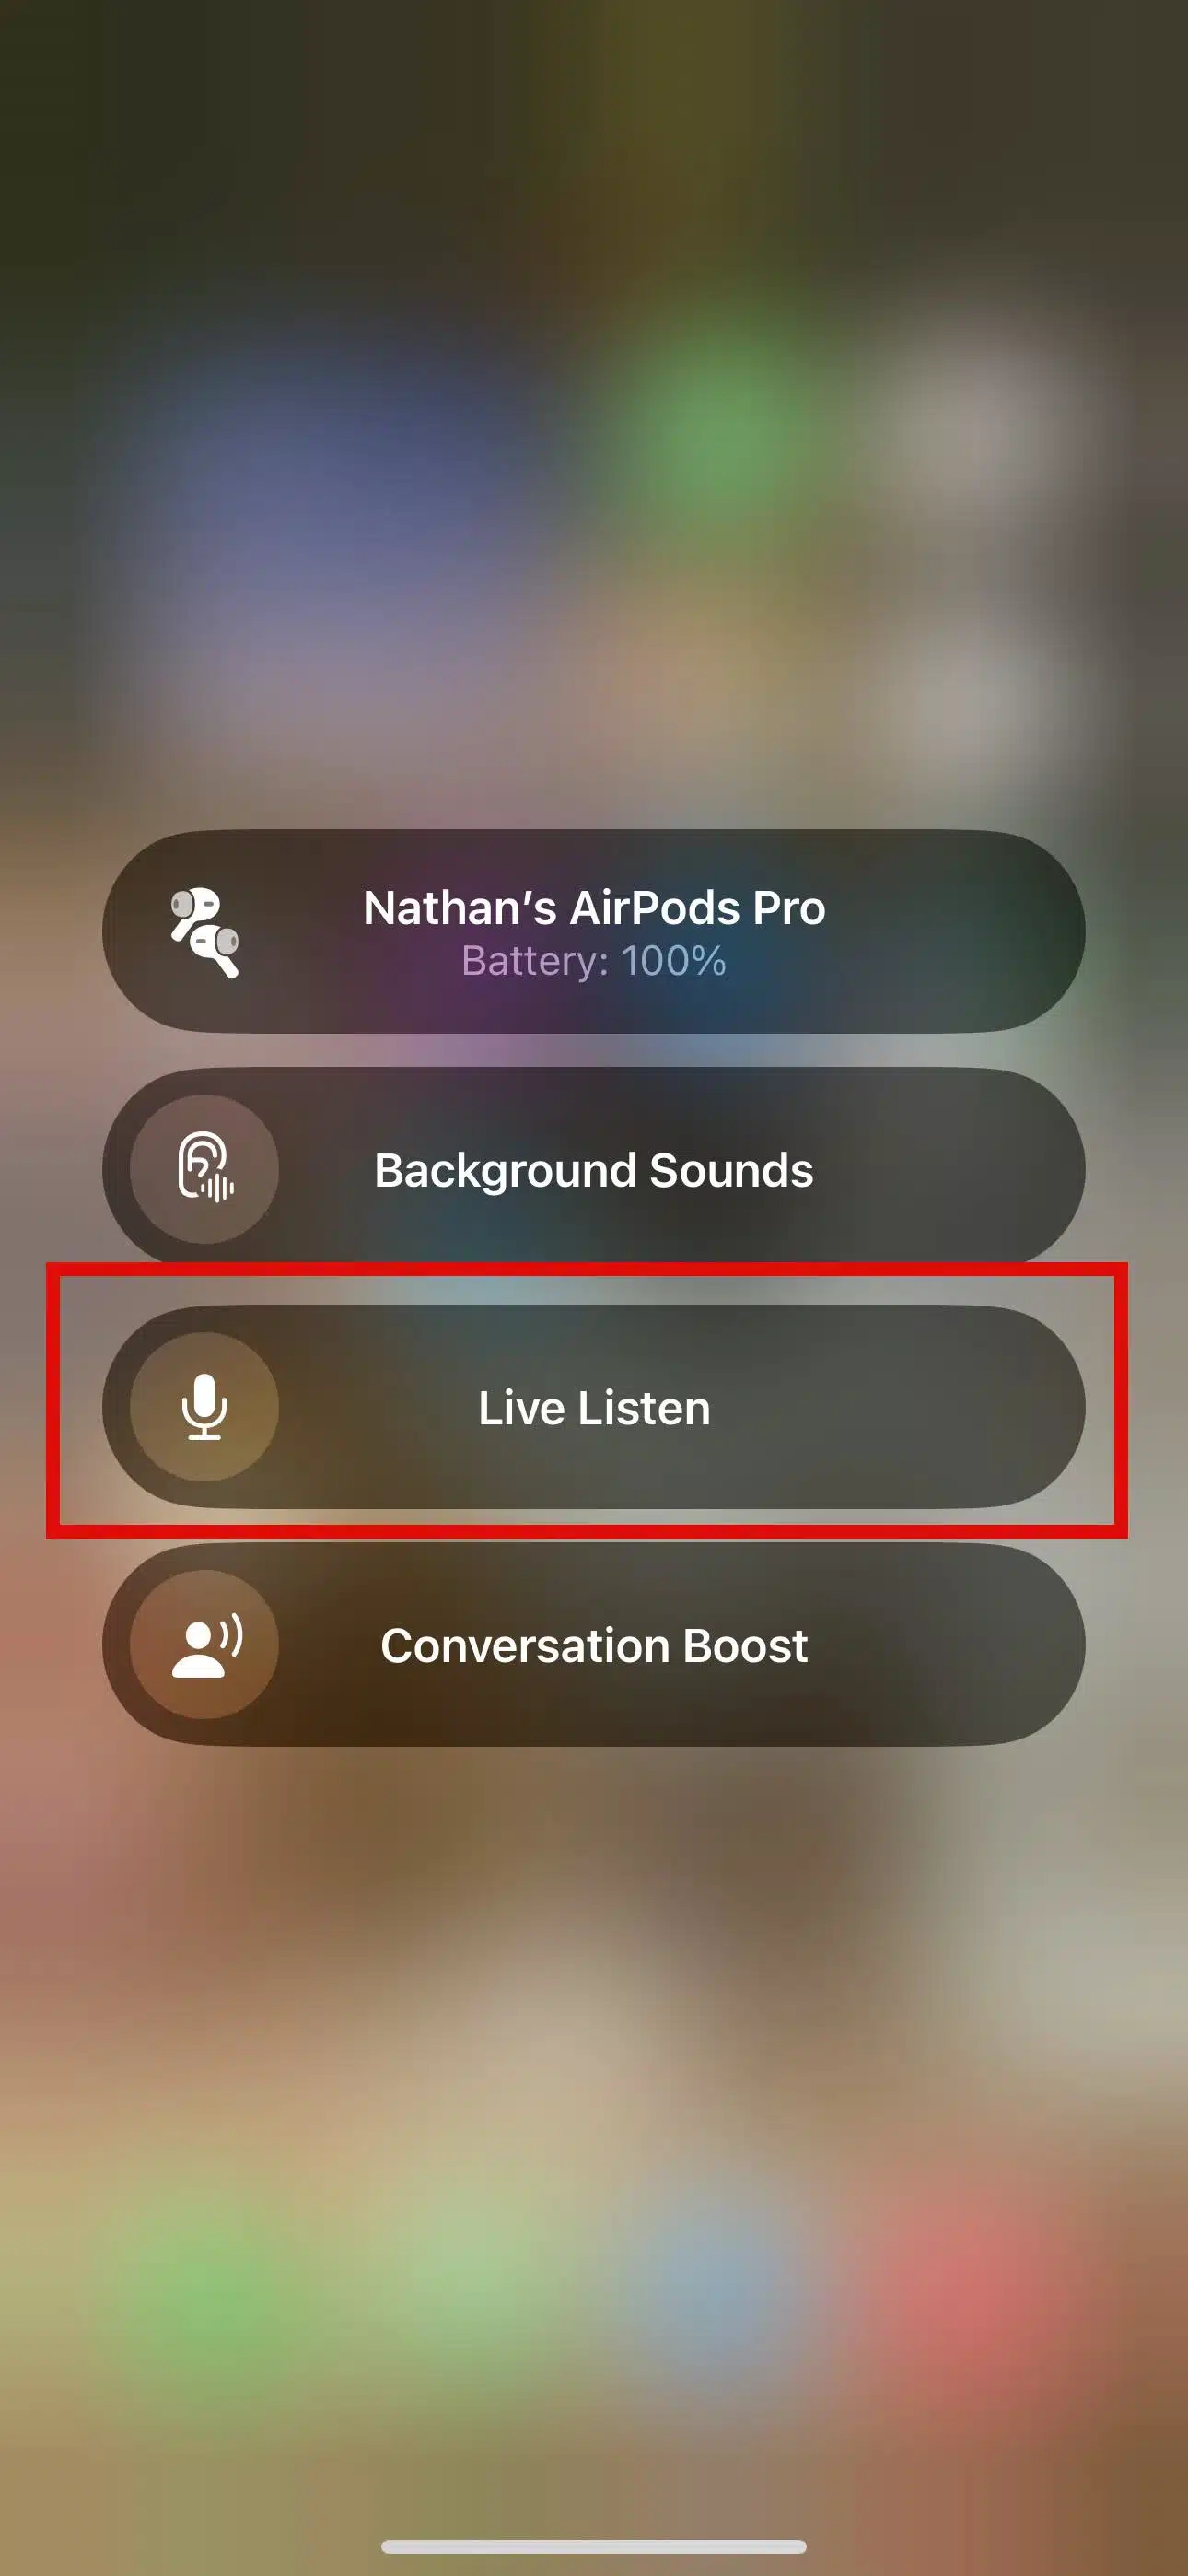
- Tap "Live Listen" to activate it.
Place your iPhone near the sound source you want to hear more clearly. Adjust the volume on your device if needed to get the best audio clarity. This setup will help you utilize Live Listen effectively, even without AirPods.
How to Use Live Listen with MFi Hearing Devices?
The MFi (Made for iPhone/iPod/iPad) program is an Apple licensing initiative for developers creating hardware and software accessories for Apple's devices. MFi certification guarantees that these accessories meet Apple's performance standards and are fully compatible with your iPhone, iPad, or iPod.
This means MFi hearing devices work smoothly with Live Listen, providing a reliable and enhanced listening experience.
Steps to Use Live Listen with MFi Hearing Devices
- Open the Settings app on your iPhone.
- Scroll down and tap on "Accessibility."
- Under the "Hearing" section, tap on "Hearing Devices."
- Select the name of your MFi hearing device from the list.
- Tap "Start Live Listen."
Once Live Listen is activated, place your iPhone near the sound source you wish to hear more clearly. Your MFi hearing device will amplify the sounds, allowing you to hear conversations, lectures, or any other audio with improved clarity.
Why Can't I Use Live Listen?
If you're having trouble using Live Listen, there are several common issues and potential solutions to consider. Here are some reasons why Live Listen might not be working and how to troubleshoot them.
Common Issues and Troubleshooting Tips
#1 Incompatible Device or Accessories
- Reason: Some older iPhone or iPad models may not support Live Listen.
- Solution: Check if your device is compatible with Live Listen. Ensure that you are using compatible accessories like AirPods, Beats, or MFi hearing devices.
#2 Outdated Software
- Reason: Live Listen requires iOS 14.3 or iPadOS 14.3 or later.
- Solution: Update your iPhone or iPad to the latest version of iOS or iPadOS. Go to Settings > General > Software Update to check for updates.
#3 Inaccurate Configuration
- Reason: Live Listen might not be properly set up in the Control Center.
- Solution: Make sure Live Listen is added to the Control Center. Go to Settings > Control Center > Customize Controls, and add the Hearing icon.
#4 Problems with Connectivity
- Reason: Your device might not be properly connected to your headphones or hearing devices.
- Solution: Ensure that your AirPods, Beats, or MFi hearing devices are correctly paired with your iPhone. Check the Bluetooth connection and reconnect if necessary.
#5 Technical Issues
- Reason: There could be temporary software glitches.
- Solution: Restart your iPhone or iPad. If the problem persists, try resetting your settings by going to Settings > General > Reset > Reset All Settings. Note that this will reset all your personalized settings but won't delete your data.
Is There an App Like Live Listen?
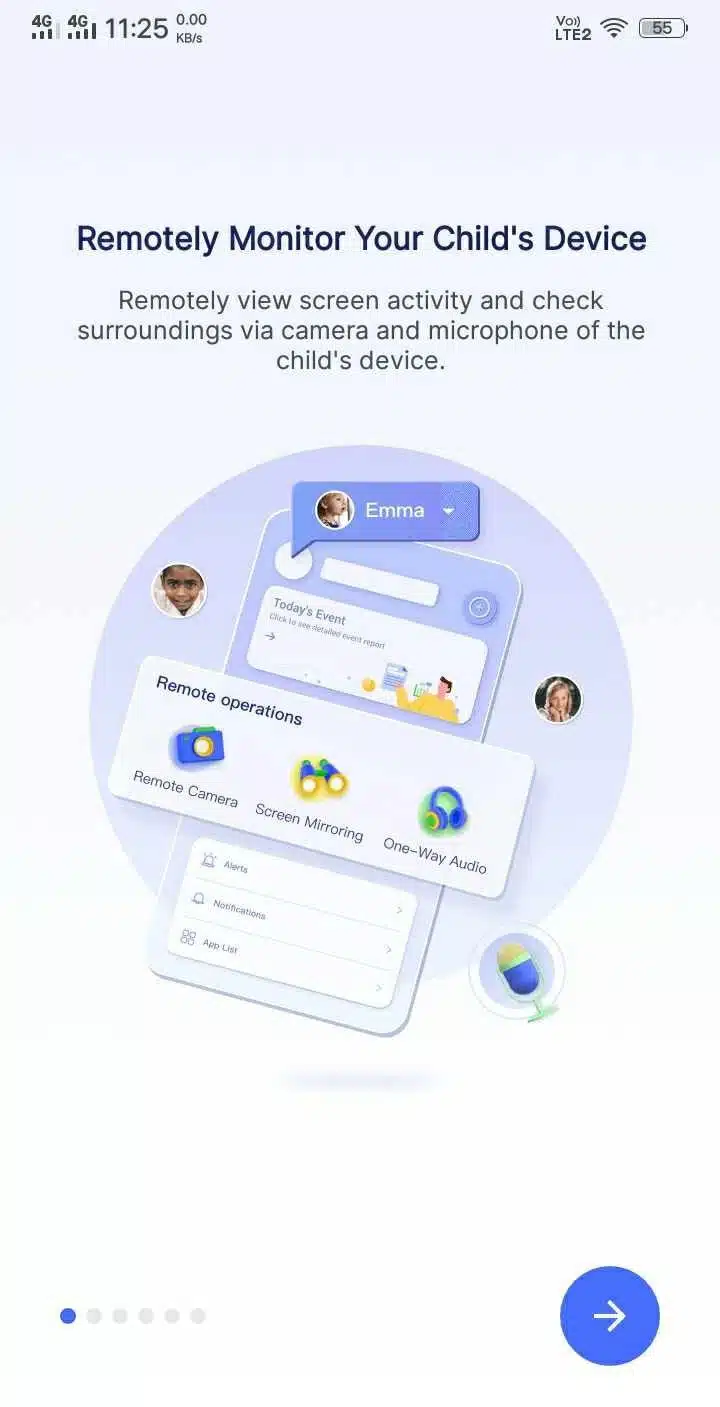
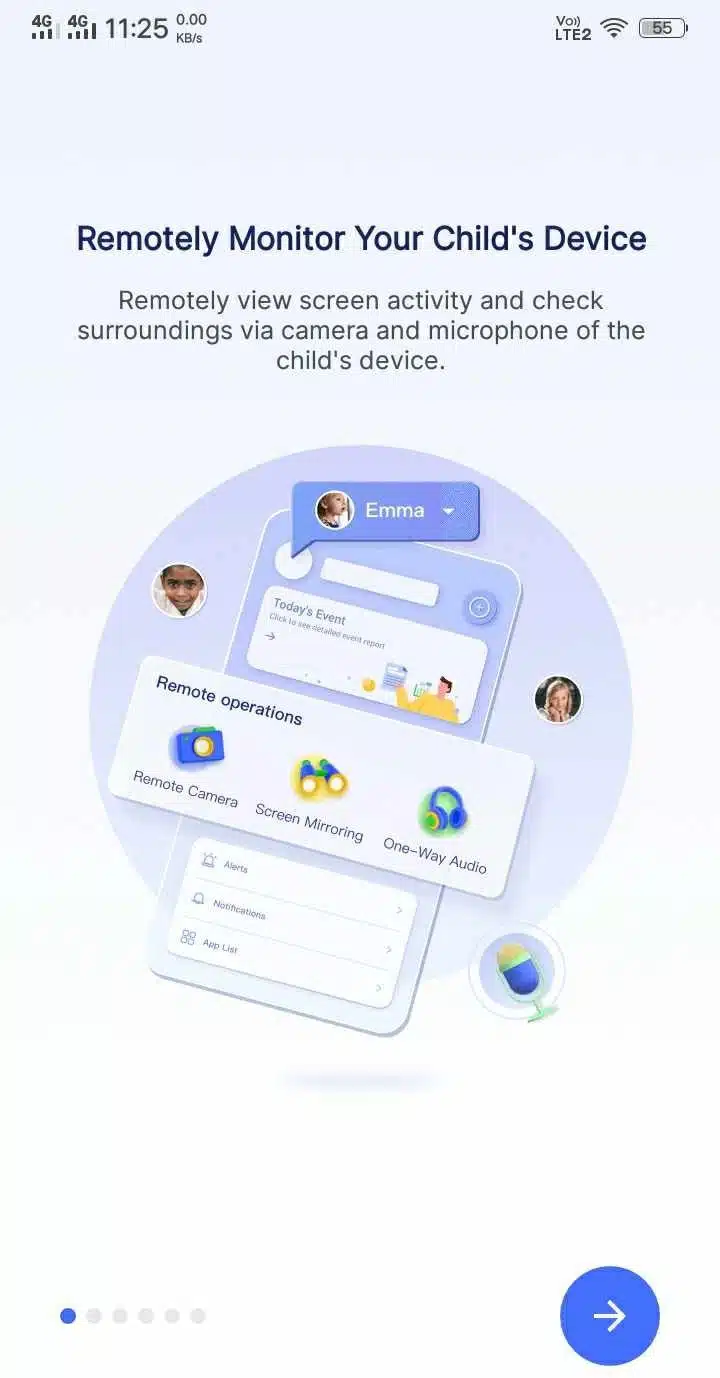
AirDroid Parental Control is a robust app designed to help parents monitor their children’s activities. One of its standout features is One-Way Audio, which allows you to listen to the surroundings of your child's device in real time. This feature is particularly useful for ensuring your child's safety and staying aware of their environment without being intrusive.
Steps to Use AirDroid Parental Control’s One-Way Audio Feature
Download and Install the Apps
- On your device, download the AirDroid Parental Control app from the Google Play Store or App Store.
- On your child's device, download the AirDroid Kids app and complete the setup process.
Set Up the Apps
- Open the AirDroid Parental Control app on your device.
- Follow the on-screen instructions to pair your device with your child's device using the AirDroid Kids app.
Activate One-Way Audio
- In the AirDroid Parental Control app, select the 'One-Way Audio' feature.
- You will now be able to listen to the live surroundings of your child's device.
Using AirDroid Parental Control, you can keep an ear on your child’s environment, ensuring their safety and well-being. This app is a powerful alternative to Live Listen, offering additional features tailored for parental monitoring.
Conclusion
When using features like Live Listen, it’s important to remember the significance of consent. Always ensure that those around you are aware that their conversations might be heard or recorded. Respecting privacy is crucial, whether you are using Live Listen or any similar app.
If Live Listen doesn't meet your needs, consider exploring alternative apps like AirDroid Parental Control. These apps can offer additional functionalities and might be a better fit for your specific requirements. Remember to always use these tools responsibly and with consideration for others' privacy.

