How to Add a MidJourney Bot to Discord Server [Easiest Way]

MidJourney Bot

Have you tried using MidJourney in one of the public "Newbie" rooms? It's a nightmare! There are so many people making designs that yours quickly gets pushed way up the server before it's even completed. 

Fear not, you can create a MidJourney bot on your own, private server that is totally your own. Here's how. 

1. Navigate to https://discord.com/channels/@me

Create a New Server

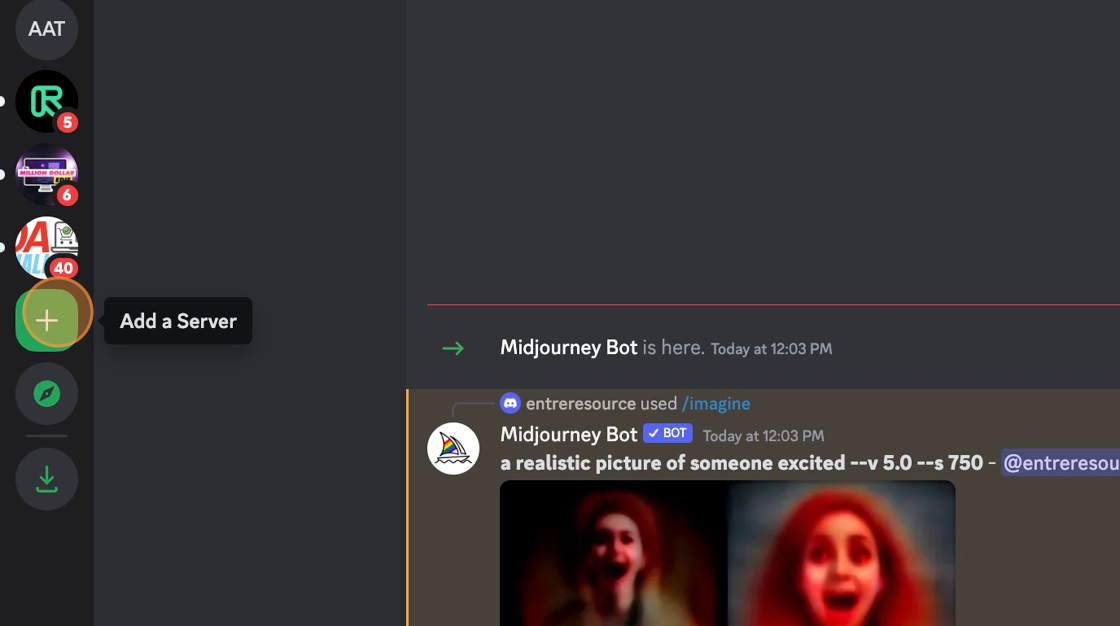
2. Click the + icon to Add a server

Screenshot of: Click the + icon to Add a server

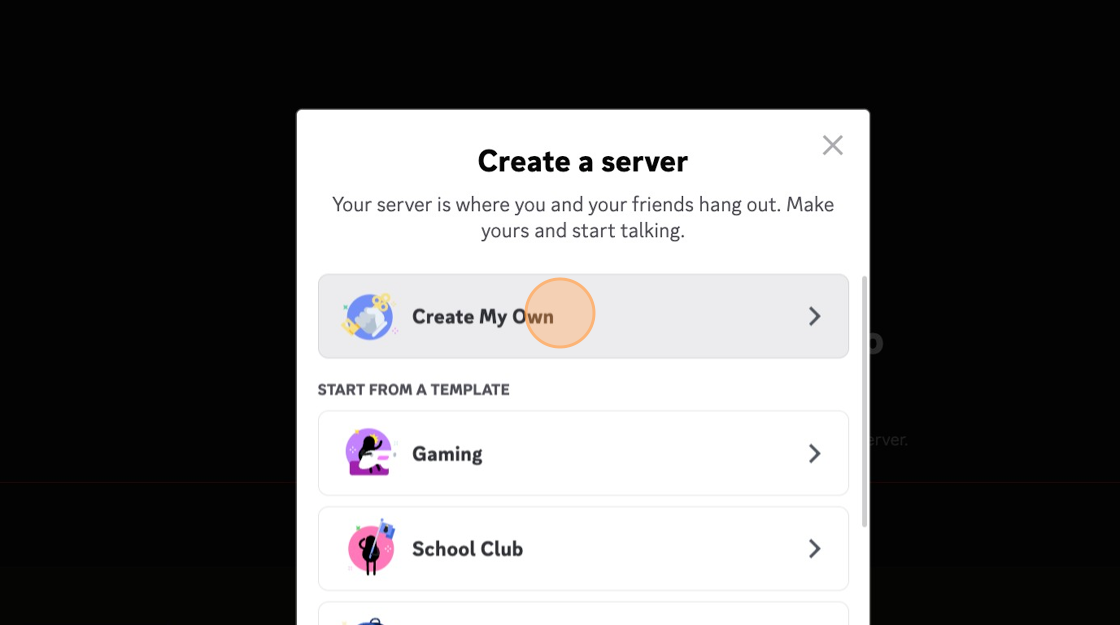
3. Click "Create My Own"

Screenshot of: Click "Create My Own"

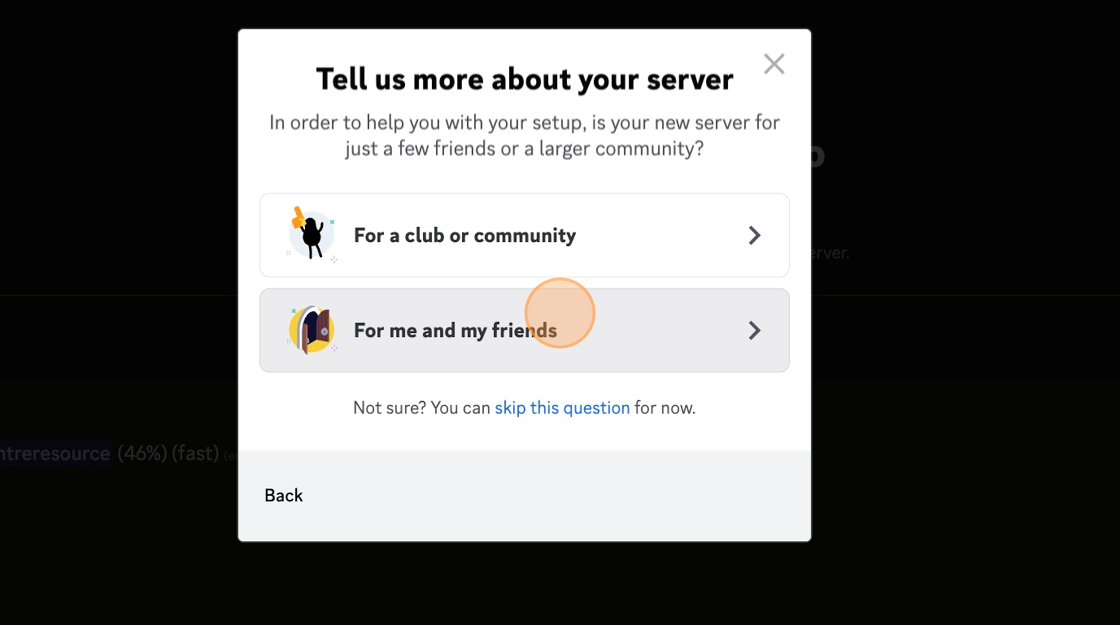
4. Click "For me and my friends," you can choose club or community if you'd like. It doesn't matter.

Screenshot of: Click "For me and my friends," you can choose club or community if you'd like. It doesn't matter.

Add Your Bot

5. Now that your server is set up and named, navaigate to the sidebar and click the "Midjourney" icon.

Screenshot of: Now that your server is set up and named, navaigate to the sidebar and click the "Midjourney" icon.

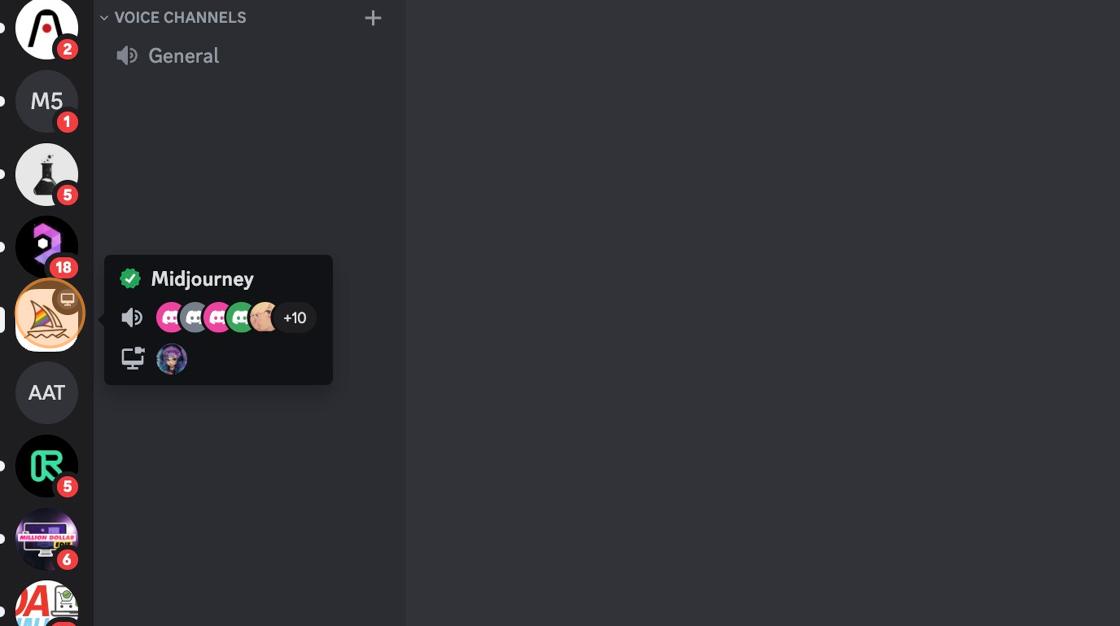
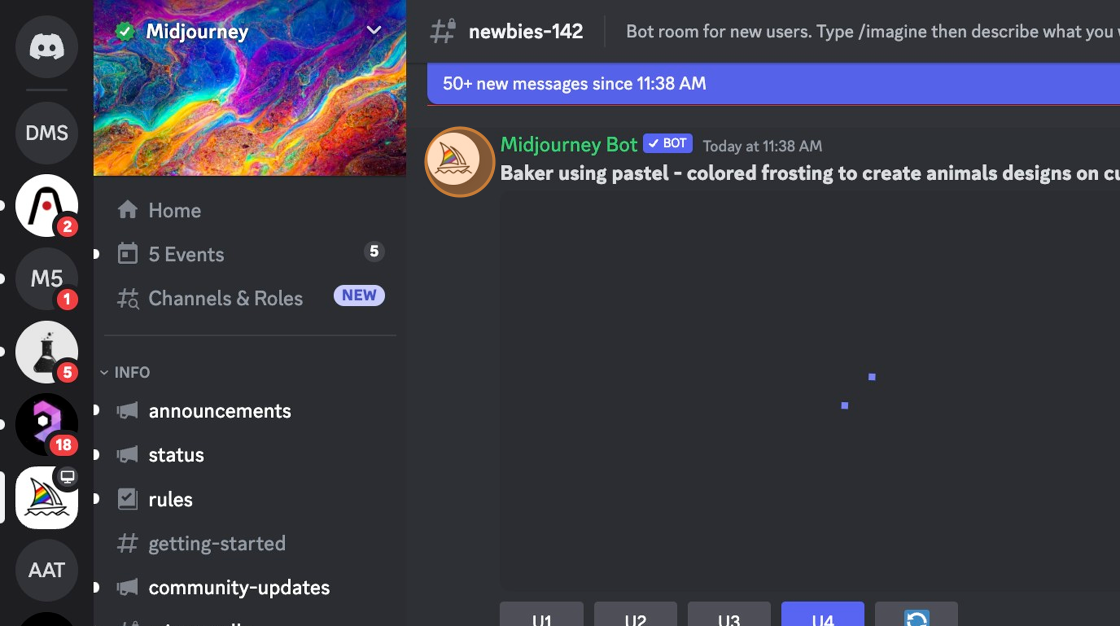
6. Navigate down to any of the newcomer rooms. For this example, we will select "newbies-142" but you can choose any that are available.

Screenshot of: Navigate down to any of the newcomer rooms. For this example, we will select "newbies-142" but you can choose any that are available.

7. Click on the MidJourney icon.

Screenshot of: Click on the MidJourney icon.

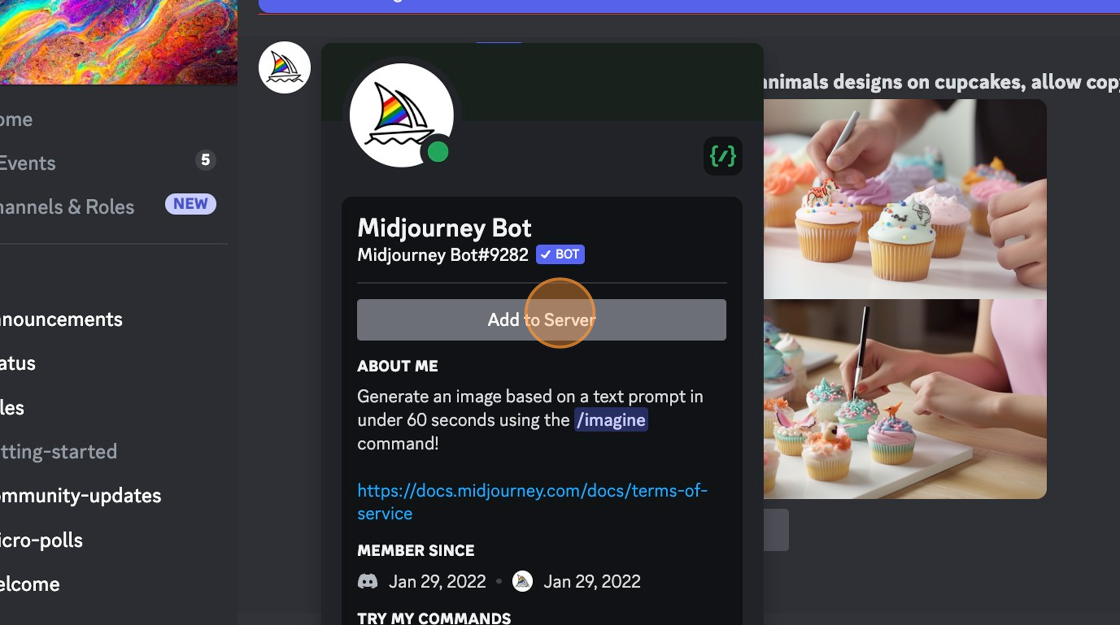
8. Click "Add to Server"

Screenshot of: Click "Add to Server"

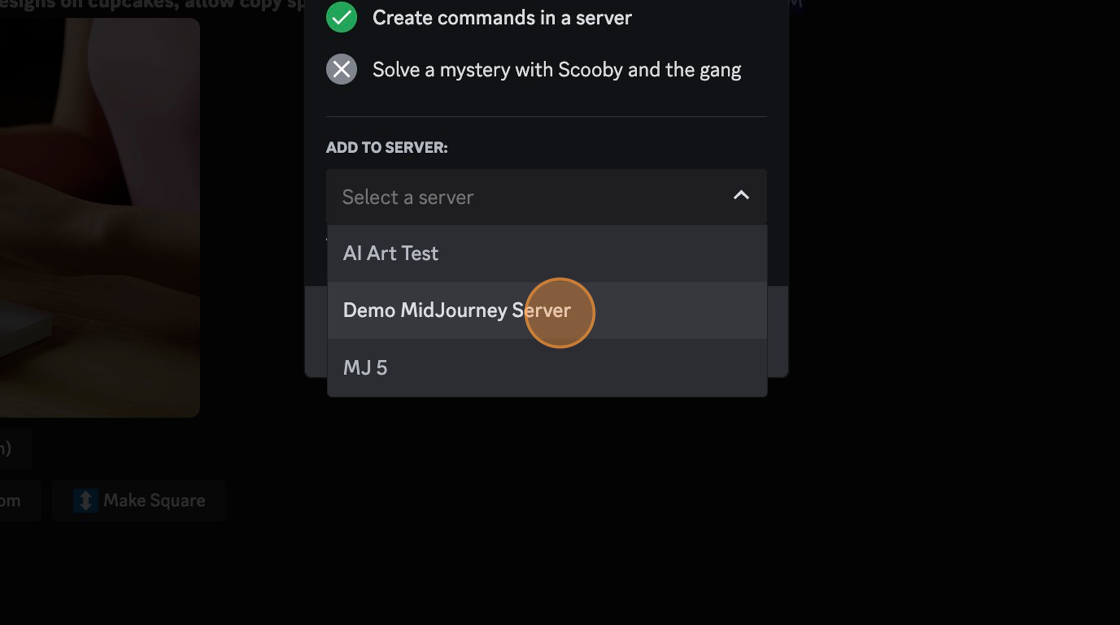
9. Click the "Select a server" field.

Screenshot of: Click the "Select a server" field.

10. Choose the server you just created.

Screenshot of: Choose the server you just created.

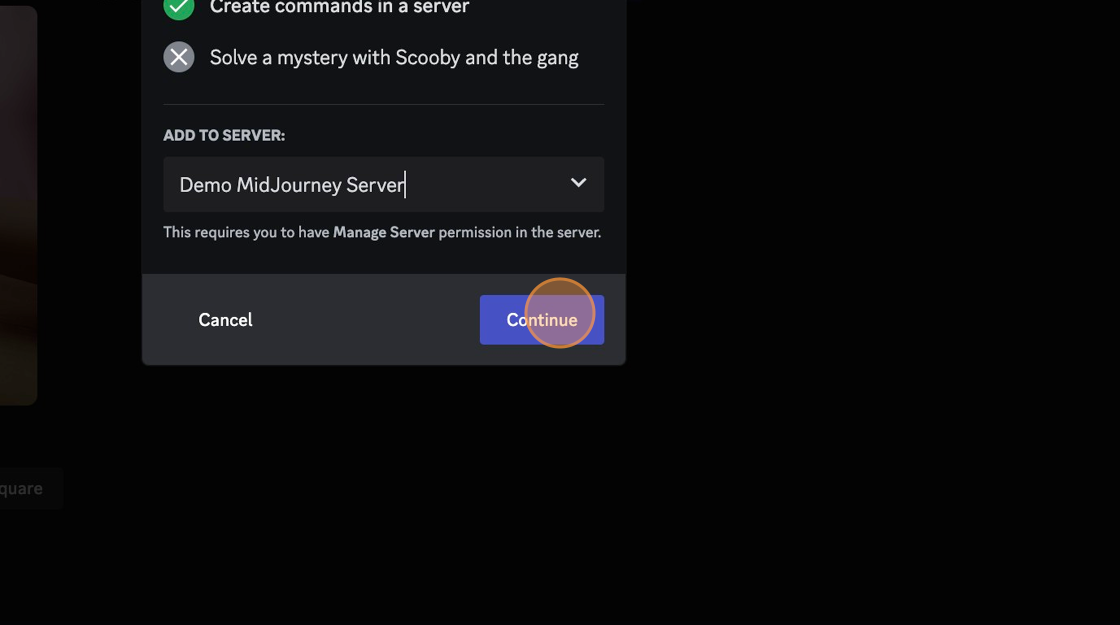
11. Click "Continue"

Screenshot of: Click "Continue"

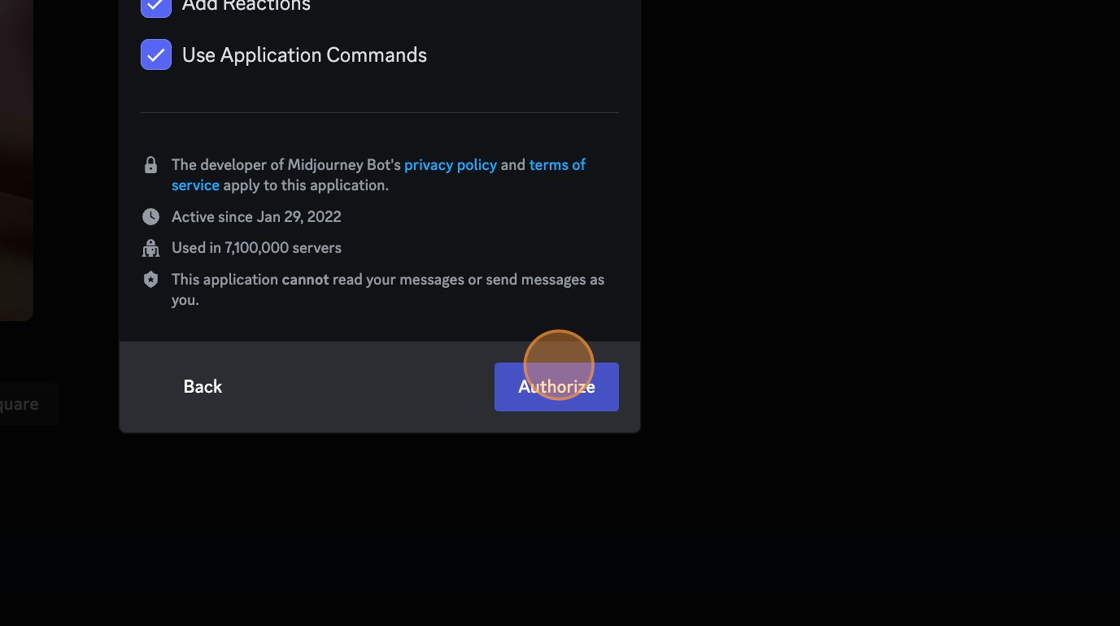
12. Click "Authorize"

Screenshot of: Click "Authorize"

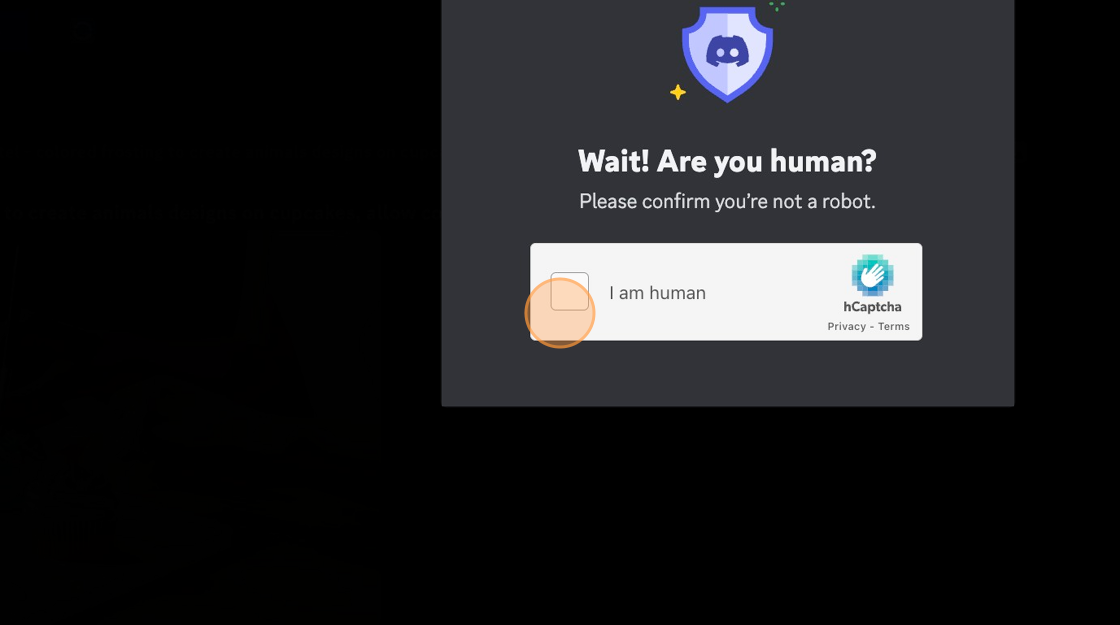
13. Confirm you're human.

Screenshot of: Confirm you're human.

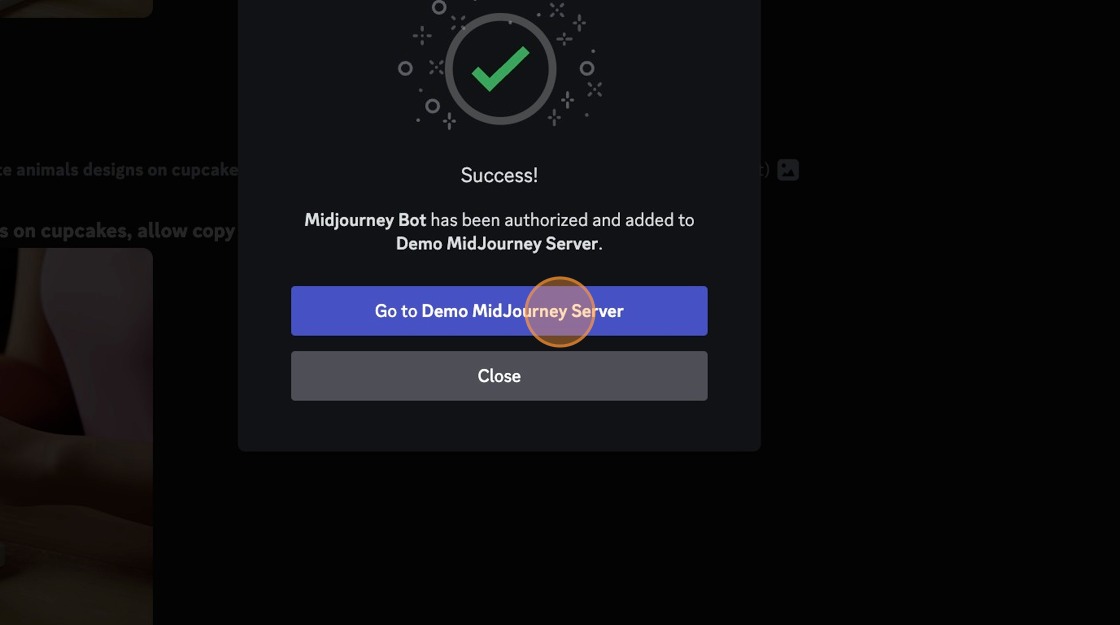
14. Click "Demo MidJourney Server"

Screenshot of: Click "Demo MidJourney Server"

15. Now let's test it. Start by adding a message.

Screenshot of: Now let's test it. Start by adding a message.

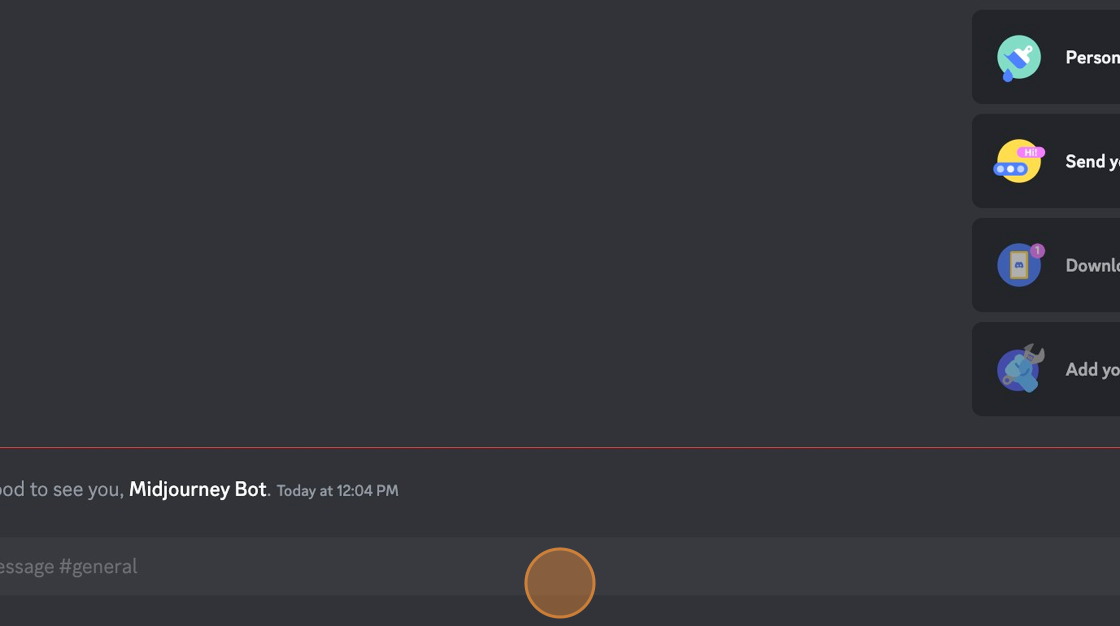
16. Type "/imagine and then your prompt.

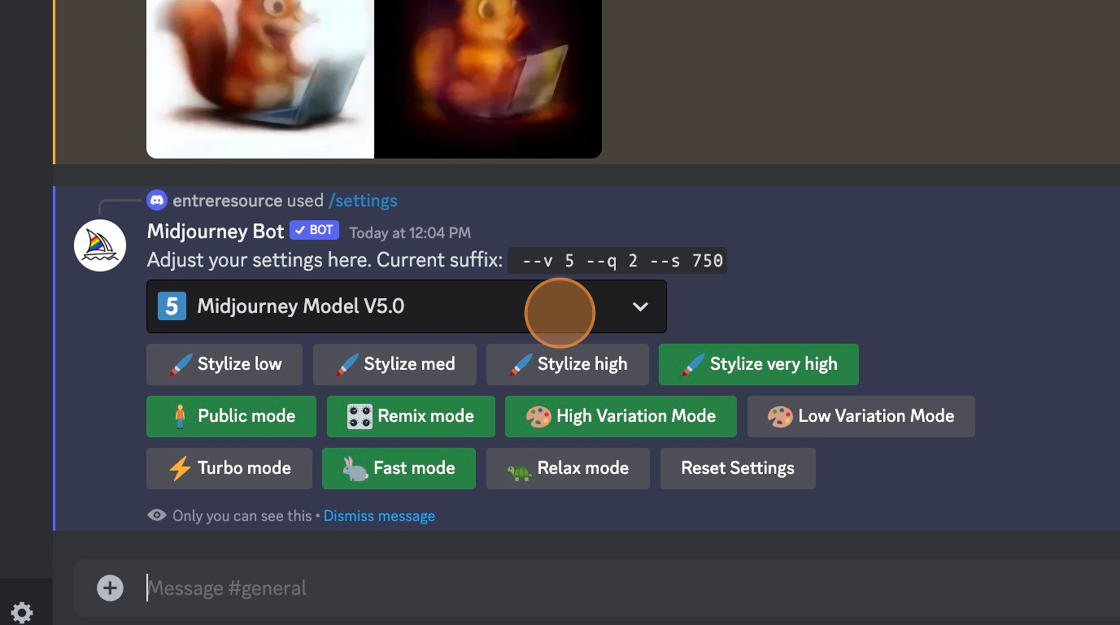
Tip: Your bot should now be working. If you'd like to edit the settings, do /settings and press enter. You'll get a screen like the one below that shows various options you can customze.

17. Customize your settings to your liking.

Screenshot of: Customize your settings to your liking.

You're Done!!!


8 Types of Amazon Seller Leverage That Will Catapult Your Business Success

Read More

How to Hire an Email Management Virtual Assistant – 2 Approaches to Affordably Outsource Your Personal and Business Inbox

Read More

40 Best Amazon Sellers to Follow on Twitter (X) in 2023

Read More

How to Start a Vending Machine Business: Essential Tips for Success in 2023

Read More

Amazon Lead Lists for 2023 – Online Arbitrage, Retail Arbitrage and Wholesale Lead Groups

Read More

ScoutIQ Review – A Book Flippers Dream? [2023]

Read More

Leave a Reply

This site uses Akismet to reduce spam. Learn how your comment data is processed.

{"email":"Email address invalid","url":"Website address invalid","required":"Required field missing"}